
New Blacksmithing courses available Newcastle Australia
Read MoreForging a San Mai Style Chef knife with a 52100 core and 15n20 jacket.
Read MorePictorial work through of the process I use to make a leather bushcraft sheath.
Read More


New Blacksmithing courses available Newcastle Australia
Read More
Forging a San Mai Style Chef knife with a 52100 core and 15n20 jacket.
Read More
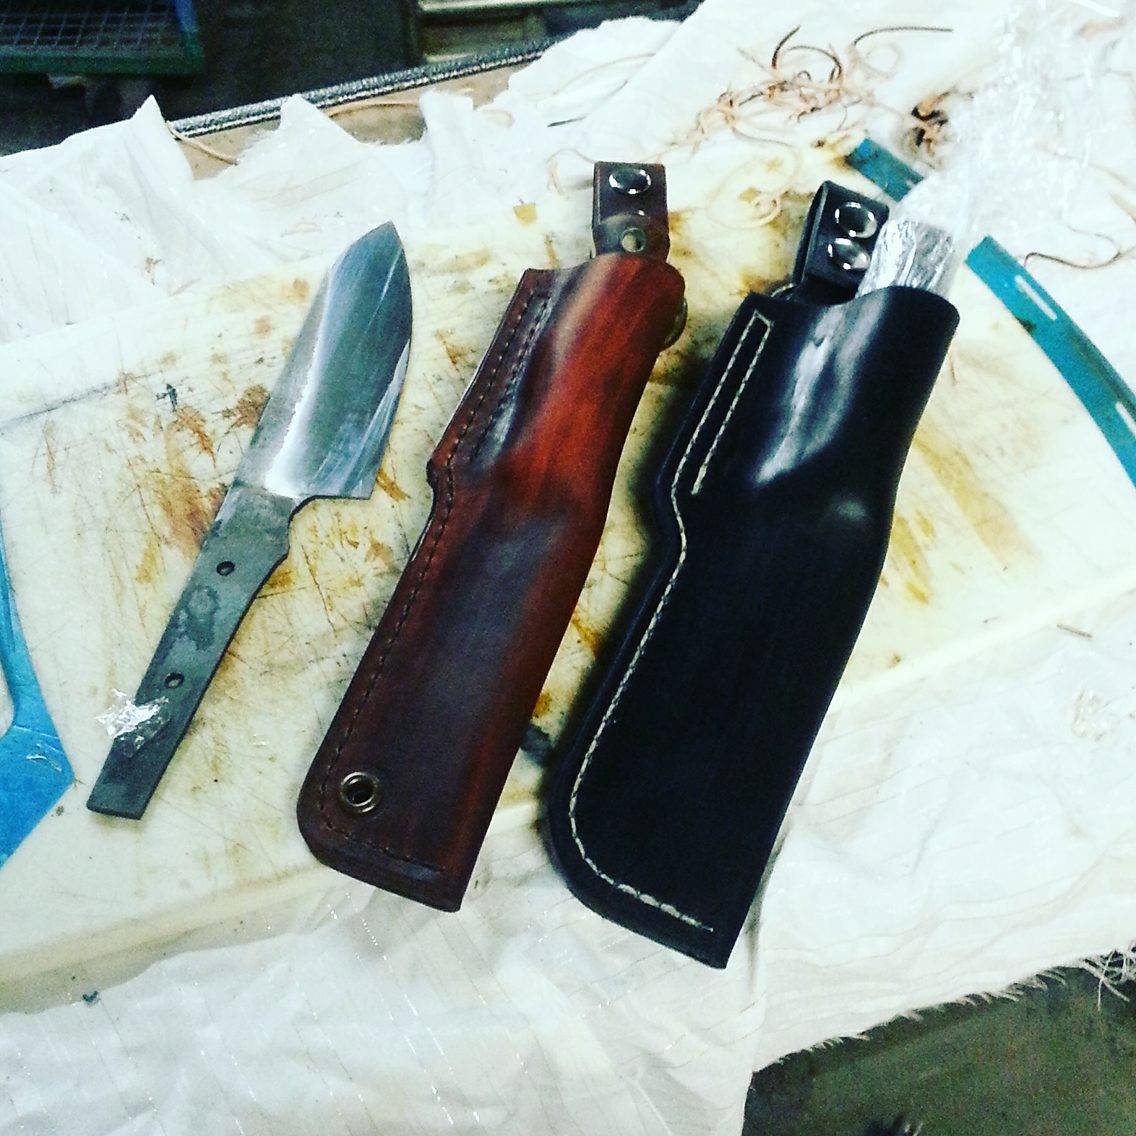
Pictorial work through of the process I use to make a leather bushcraft sheath.
Read More