
Bushcraft Sheath Making
The making of a sheath with dangler for on of my Bushcraft Classic knives. This took around 5 hours for me to complete. I use 3.2mm thick leather, just to make the sheath extra bomb proof.
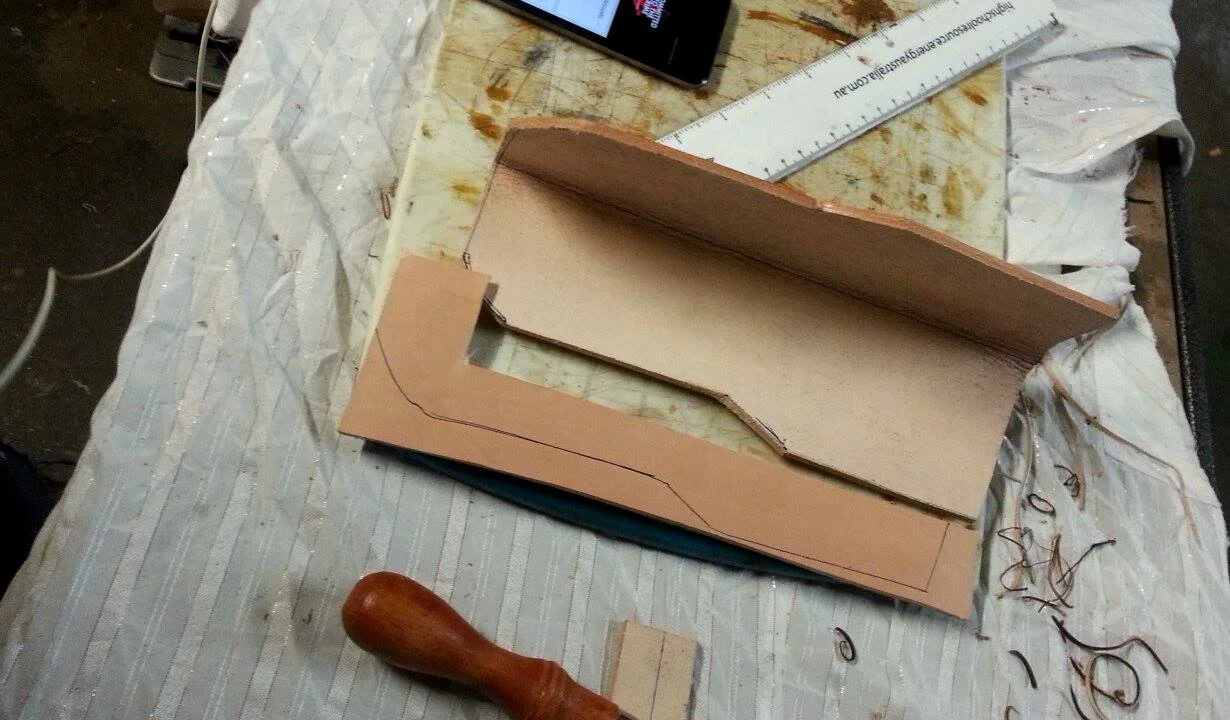
I start by cutting the rough template of the sheath and, belt loop and the welt. The welt protects the stitching from being cut when the knife is removed/returned to the sheath.

Try to get the welt to fit pretty close to the edge of the sheath, then glue it in place I use Eco Flo contact adhesive.

While the contact adhesive is drying I start to clean the edges up on the sheath and belt loop with an edge beveller.


Dye the leather, I do this multiple times to make sure the leather has plenty of dye soaked in. I rub it over with a clean cloth between coats to remove any unevenness in the coating.

Nice and shiny now. Next I burnish the top edge of the sheath that forms the opening and all edges of the belt loop. The opening of the sheath will be too hard to do well later on.
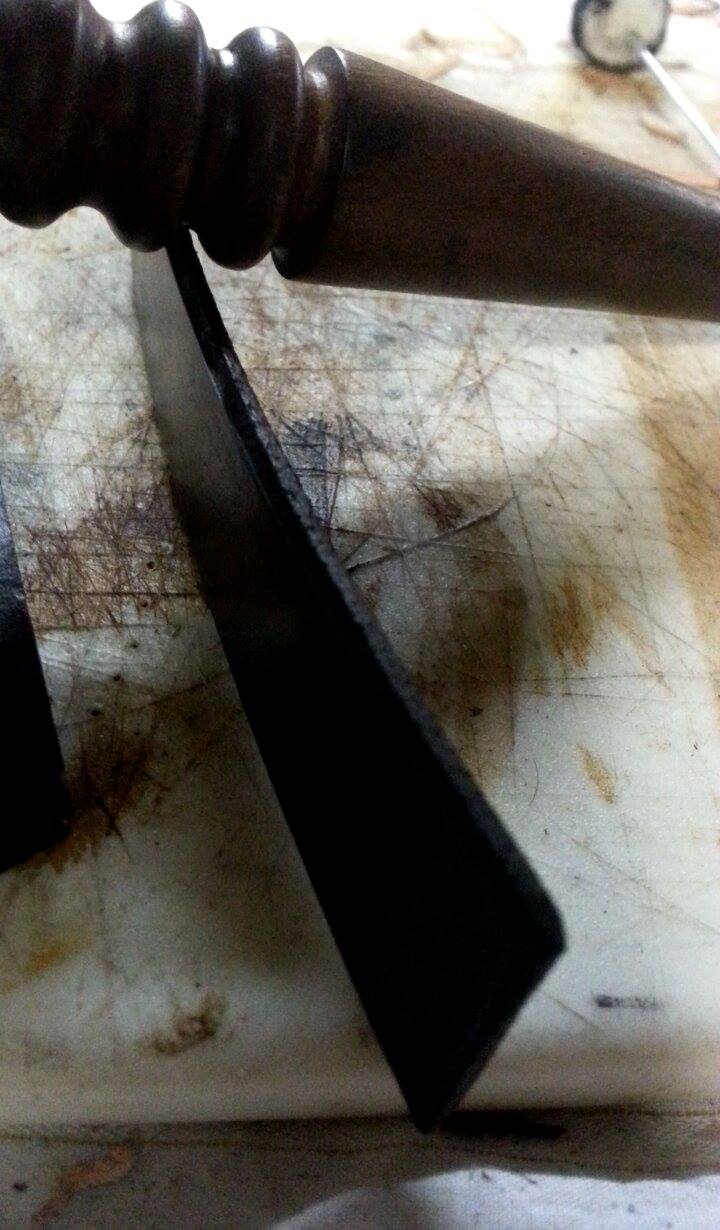
Before burnishing

After burnishing

Remember to dye the inside of the sheath. I also wax coat the inside where the blade will be to protect the blade from rust inducing chemicals in the leather. I forgot to photograph that step though.

Use the stitching spacer to mark out where the belt loop
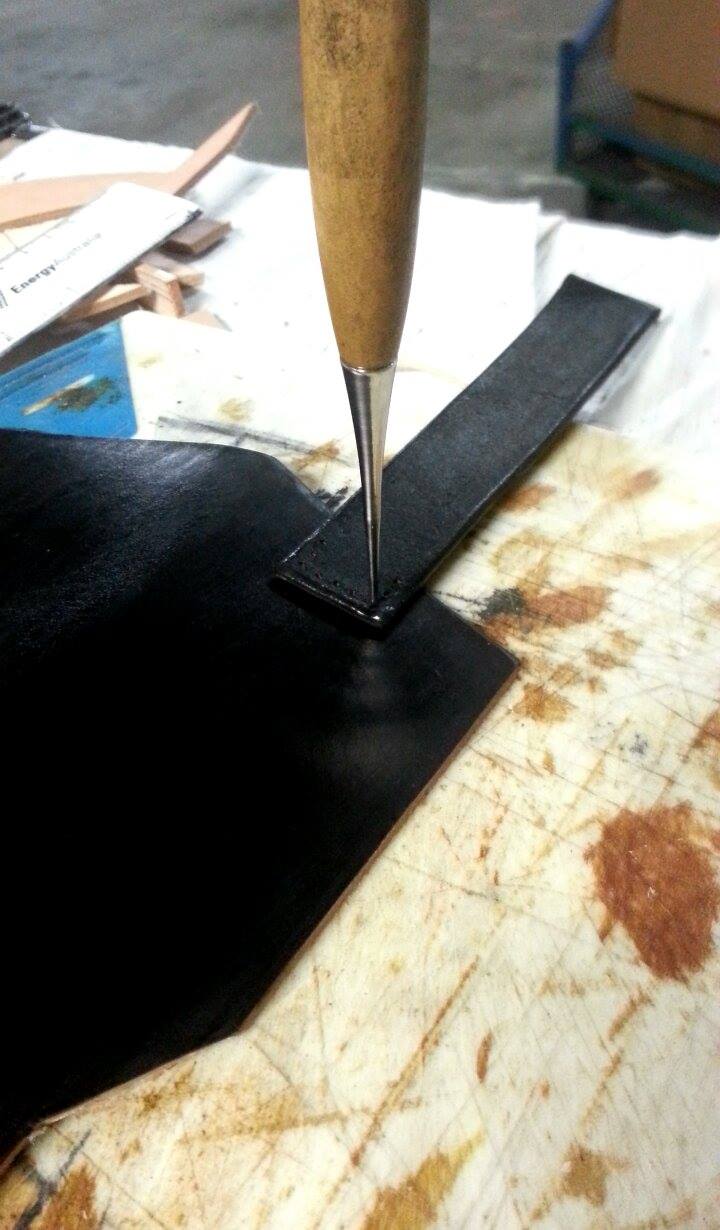
Use the awl to poke the holes out, then transfer the same holes to the top of the sheath.
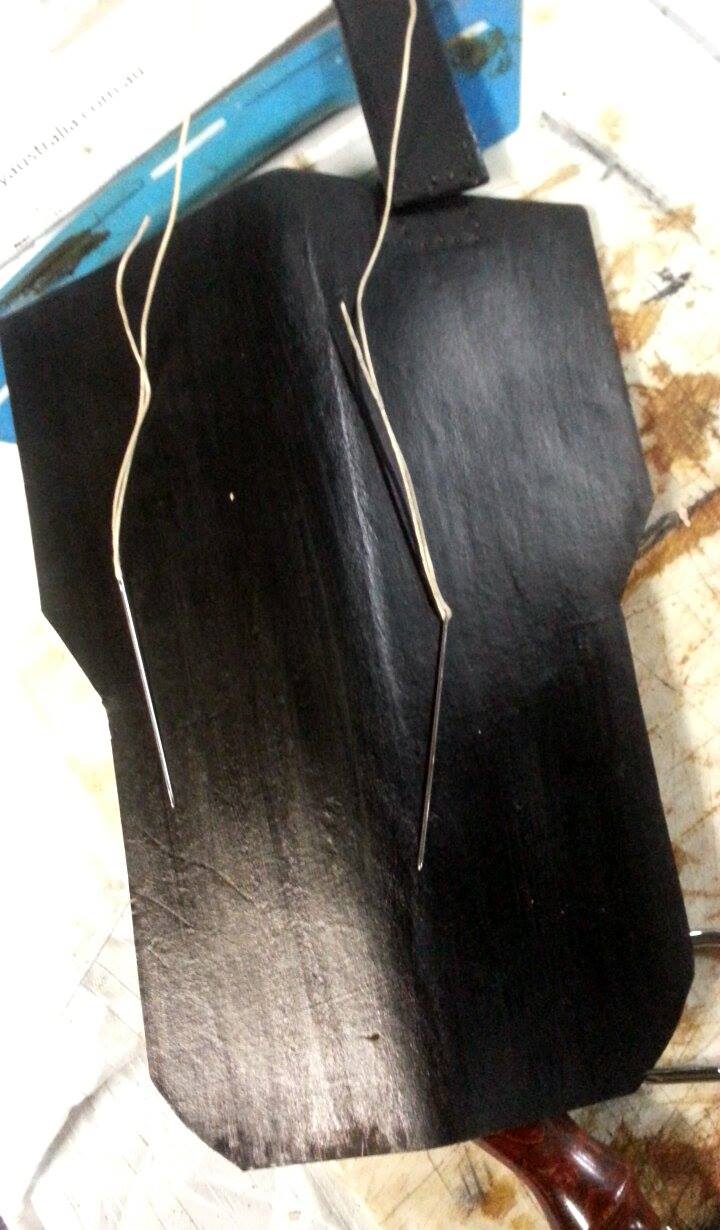
Begin stitching. Its hard for me to show the technique for stitching leather, so I'll pretend you are down with it.

Once the belt loop is fixed at the top I add the D ring. I have considered stitching these in place at the top of the loop but with it loos it can be pushed to the bottom if its more comfortable.

Here is an attachment I prepared earlier

Stitch lower half on.

No I do the stamping. The next job will be to close the sheath so staping will be harder after that. I make these to the size of individual knives so the template is adjusted through the process. That's why I don't stamp before all the other steps. I wet the leather prior to stamping and let is soak in a while.

Contact glue that sucker up

I quickly put some clamps with leather off-cuts on to protect the sheath and leave to dry.

Now I bring the edges flush, because you can see here they are pretty well off by a mm or so here and there.

Now its all leveled out

Now I have a good edge to work off I mark out where my stitching will go with a stitch groover.

Then hit it with the stitch spacer.

Tactical holes for the needle and thread to go through....

Stitch like crazy

Stitching done.

Get the edge of the sheath with the edge beveller. After that I dye and burnish the edge.

Dangler, basically just the same techniques applied previously plus some snap studs.

The sheath is pretty much done here, but I do some more tricky things.

I run the sheath under warm water, insert the knife (wrapped in copious layers of cling wrap) and mold the sheath as much as i can. Super thick leather is not the best for achieving a super defined fit, but it holds nice and tight. then I hand the assembly in front of a fan to dry, regularly coming back to squeeze it to shape.
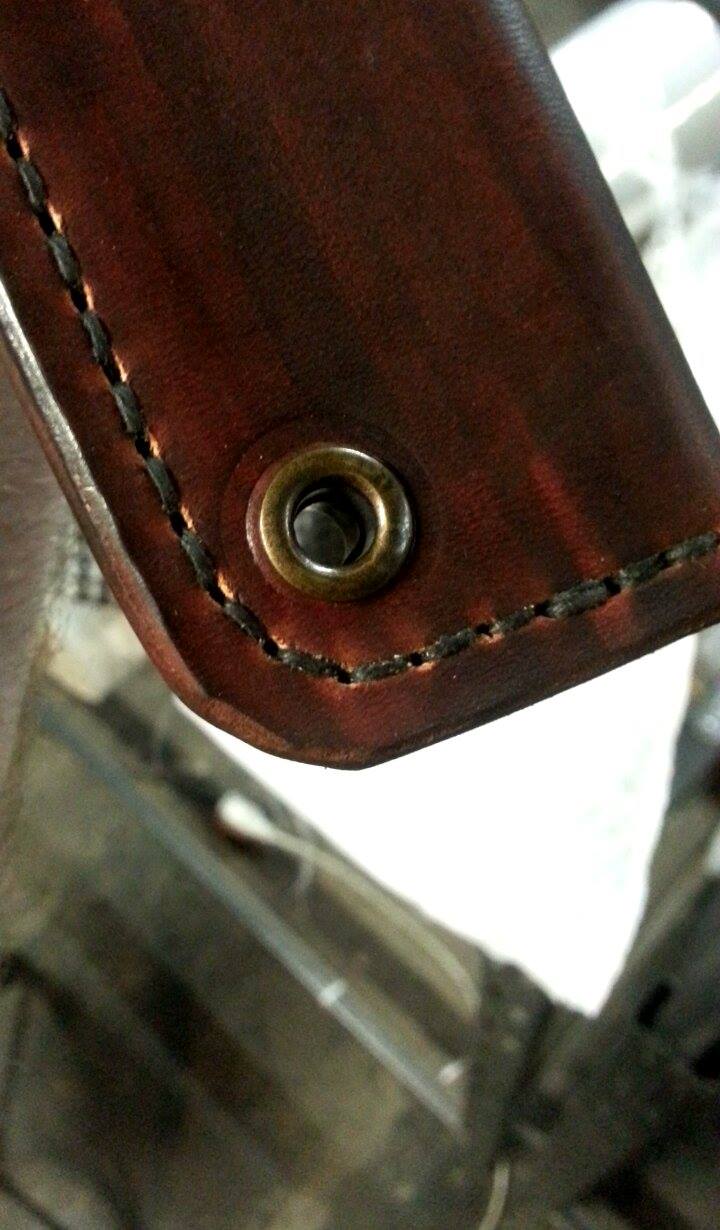
Lastly I add an eyelet for running a leg cord through. I will do this tomorrow to the black sheath when it is set and dry. I also put an acrylic surface finish over the sheath once all the fittings are attached.